
Getting Started
Quick Installation (Zero Dependencies)
The fastest way to run Cognipeer Console — no external services needed:
git clone https://github.com/Cognipeer/cognipeer-console.git
cd cognipeer-console
npm install
Create a minimal .env.local:
JWT_SECRET=your-secret-key-must-be-at-least-32-characters-longStart the server:
npm run devThat's it! The gateway starts with SQLite as the database (default), storing data in the ./data directory. No MongoDB, no Redis, no external vector database required.
Tip: For production with higher concurrency, consider switching to MongoDB. See Full Configuration below.
Quick Docker Run
docker build -t cognipeer-console .
docker run -p 3000:3000 \
  -e JWT_SECRET=your-secret-key-must-be-at-least-32-characters-long \
  -v console-data:/app/data \
  cognipeer-console
The -v console-data:/app/data volume persists your SQLite databases and local files across container restarts.
Prerequisites
- Node.js 20 or later
- npm 10+
- MongoDB 6.0+ (optional — only needed when
DB_PROVIDER=mongodb)
Installation
git clone https://github.com/Cognipeer/cognipeer-console.git
cd cognipeer-console
npm install
Configuration
Copy the example environment file and fill in the required values:
cp .env.example .env.localAt minimum you need:
| Variable | Description |
|---|---|
JWT_SECRET | Secret for JWT signing (min 32 chars) |
Optional (only when using MongoDB):
| Variable | Description |
|---|---|
MONGODB_URI | MongoDB connection string |
DB_PROVIDER | Database backend: sqlite (default) or mongodb |
See Configuration for the complete reference.
Running
Development
npm run devThe server starts at http://localhost:3000 with Turbopack hot reload.
Production
npm run build
npm start
Docker
docker build -t cognipeer-console .

# SQLite mode (default, zero dependencies)
docker run -p 3000:3000 -v console-data:/app/data --env-file .env.local cognipeer-console

# MongoDB mode
docker run -p 3000:3000 --env-file .env.local cognipeer-console
First Steps
The first time you open the console after npm run dev, you'll move through three screens before you can call the API.
1. Create your workspace
Open http://localhost:3000/register — the registration screen captures the four things a tenant needs: human identity, sign-in email, the company name (which becomes your tenant slug), and a password.
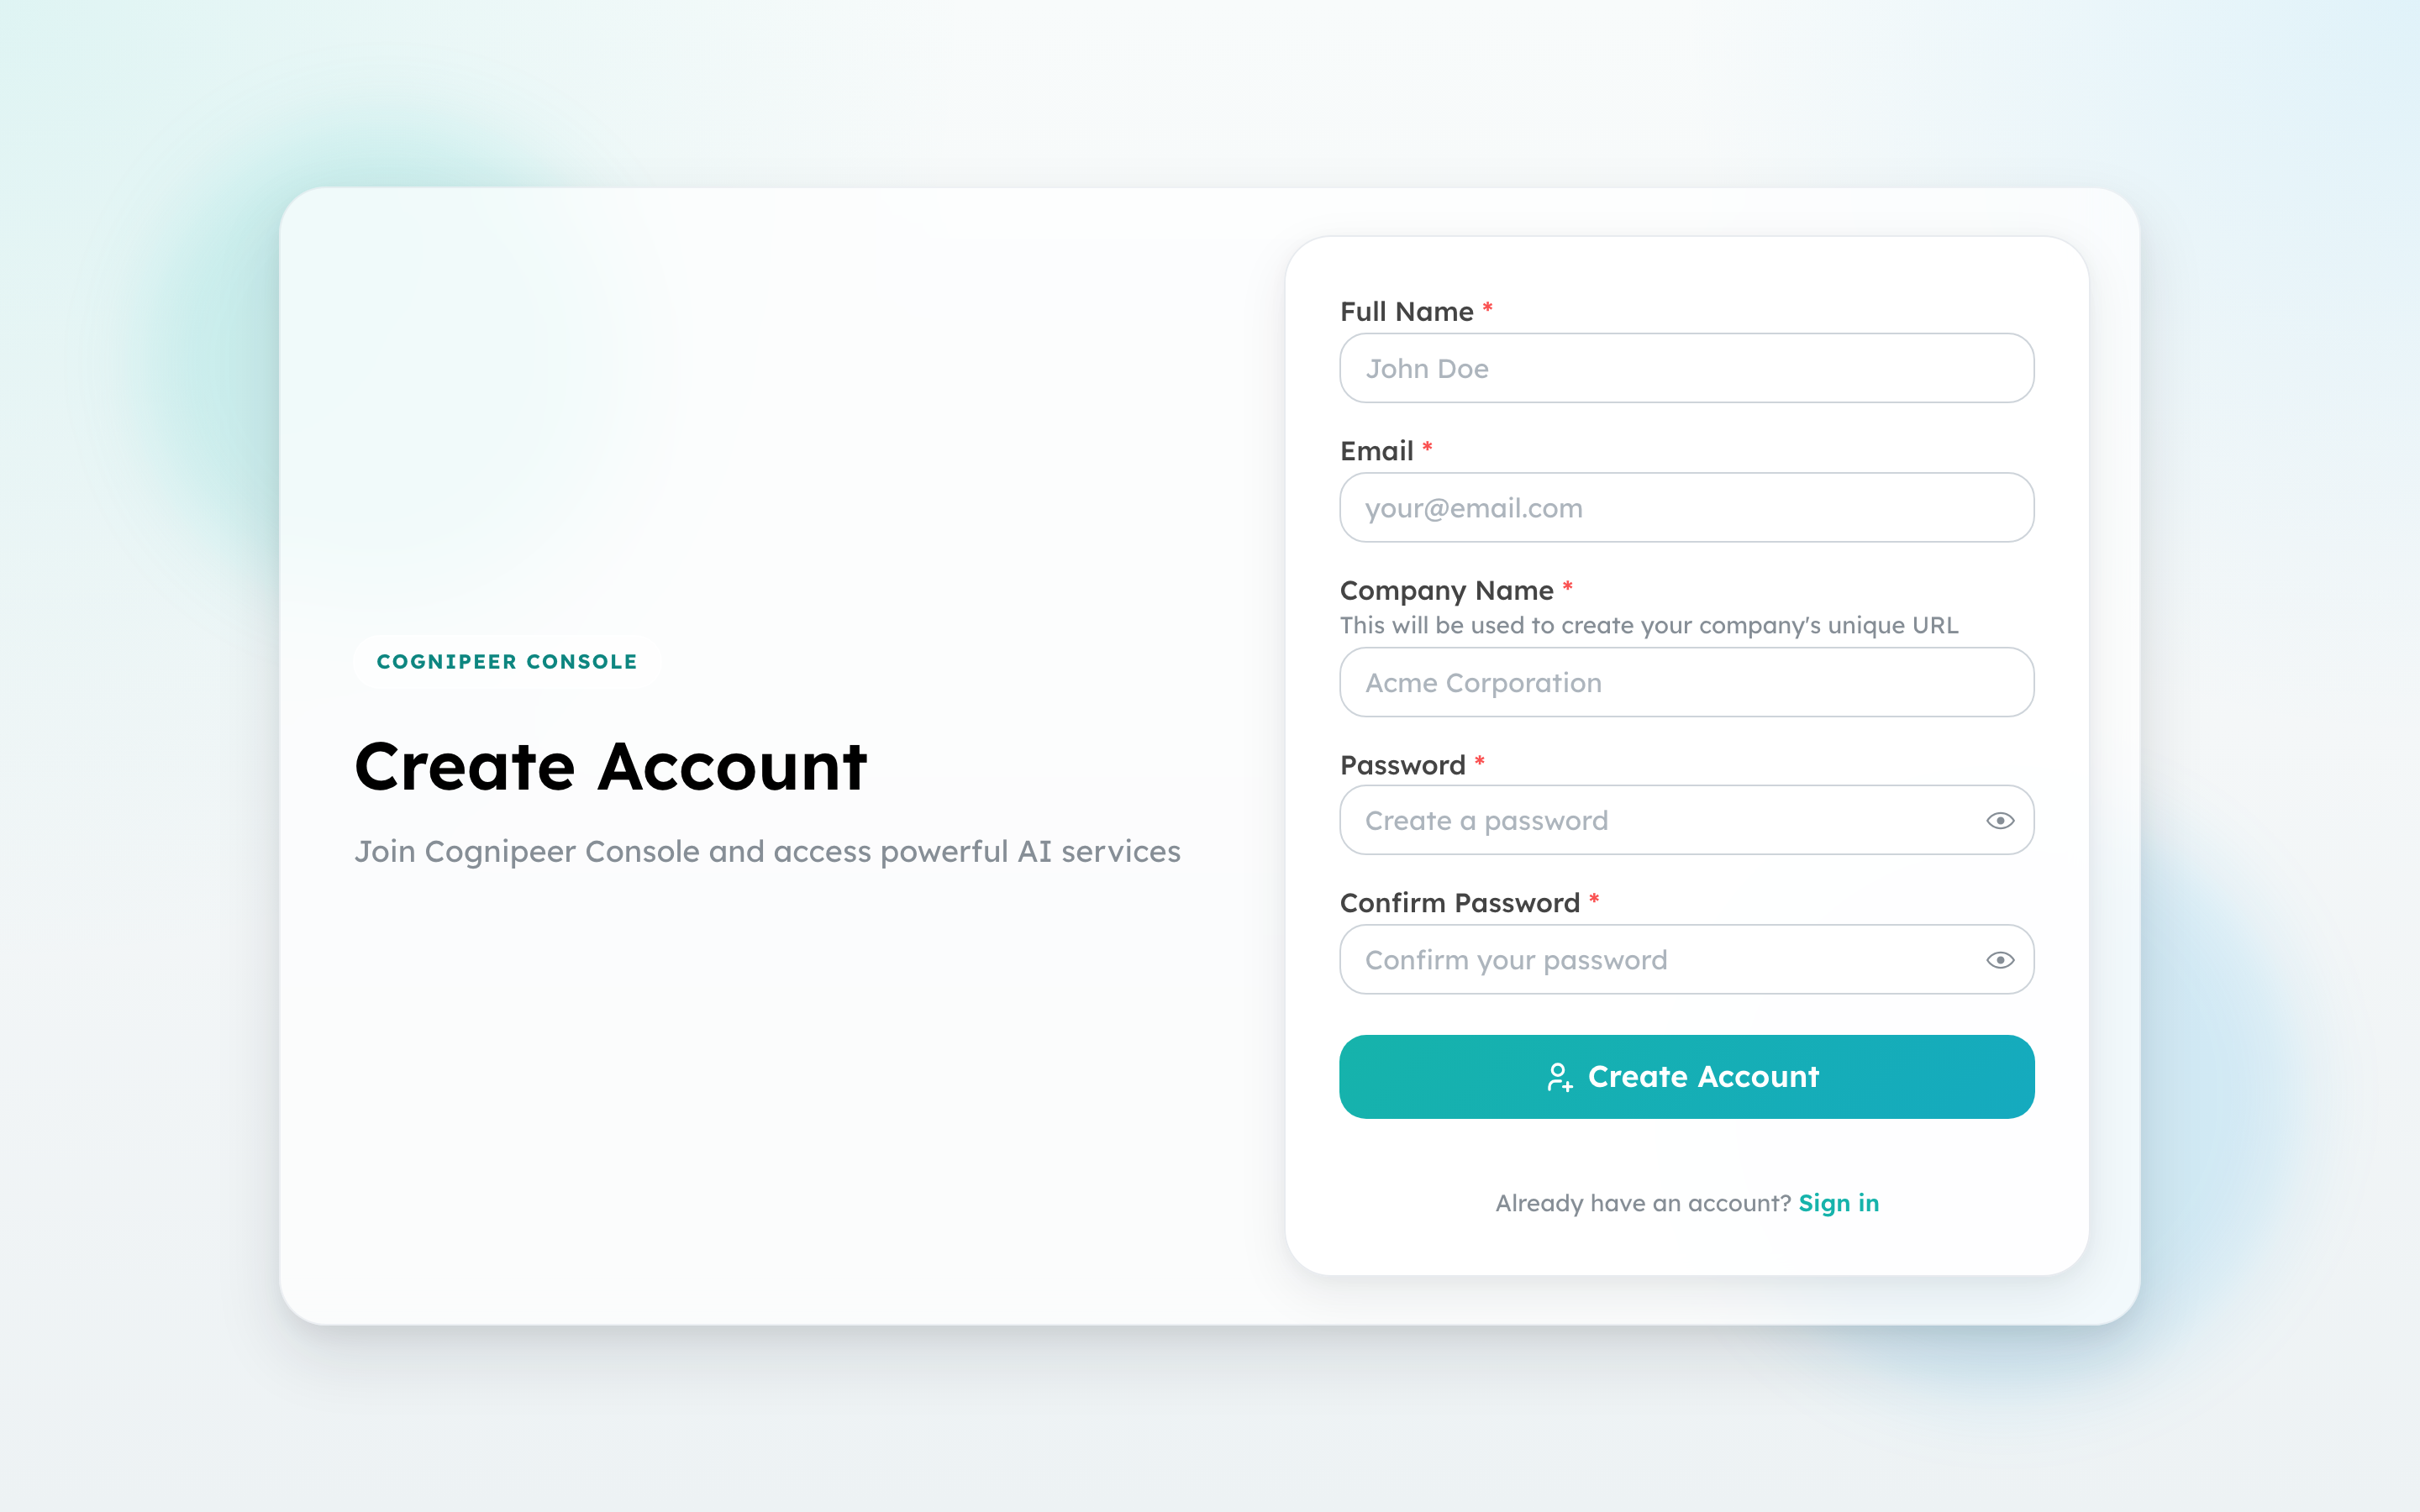
The company name is normalised into a URL-safe slug; you'll see it later in tenant-scoped routes and as the SQLite database file under data/sqlite_new/tenant_<slug>.db.
2. Sign in
Subsequent sessions land on /login and only need email + password — the tenant is resolved from the account.
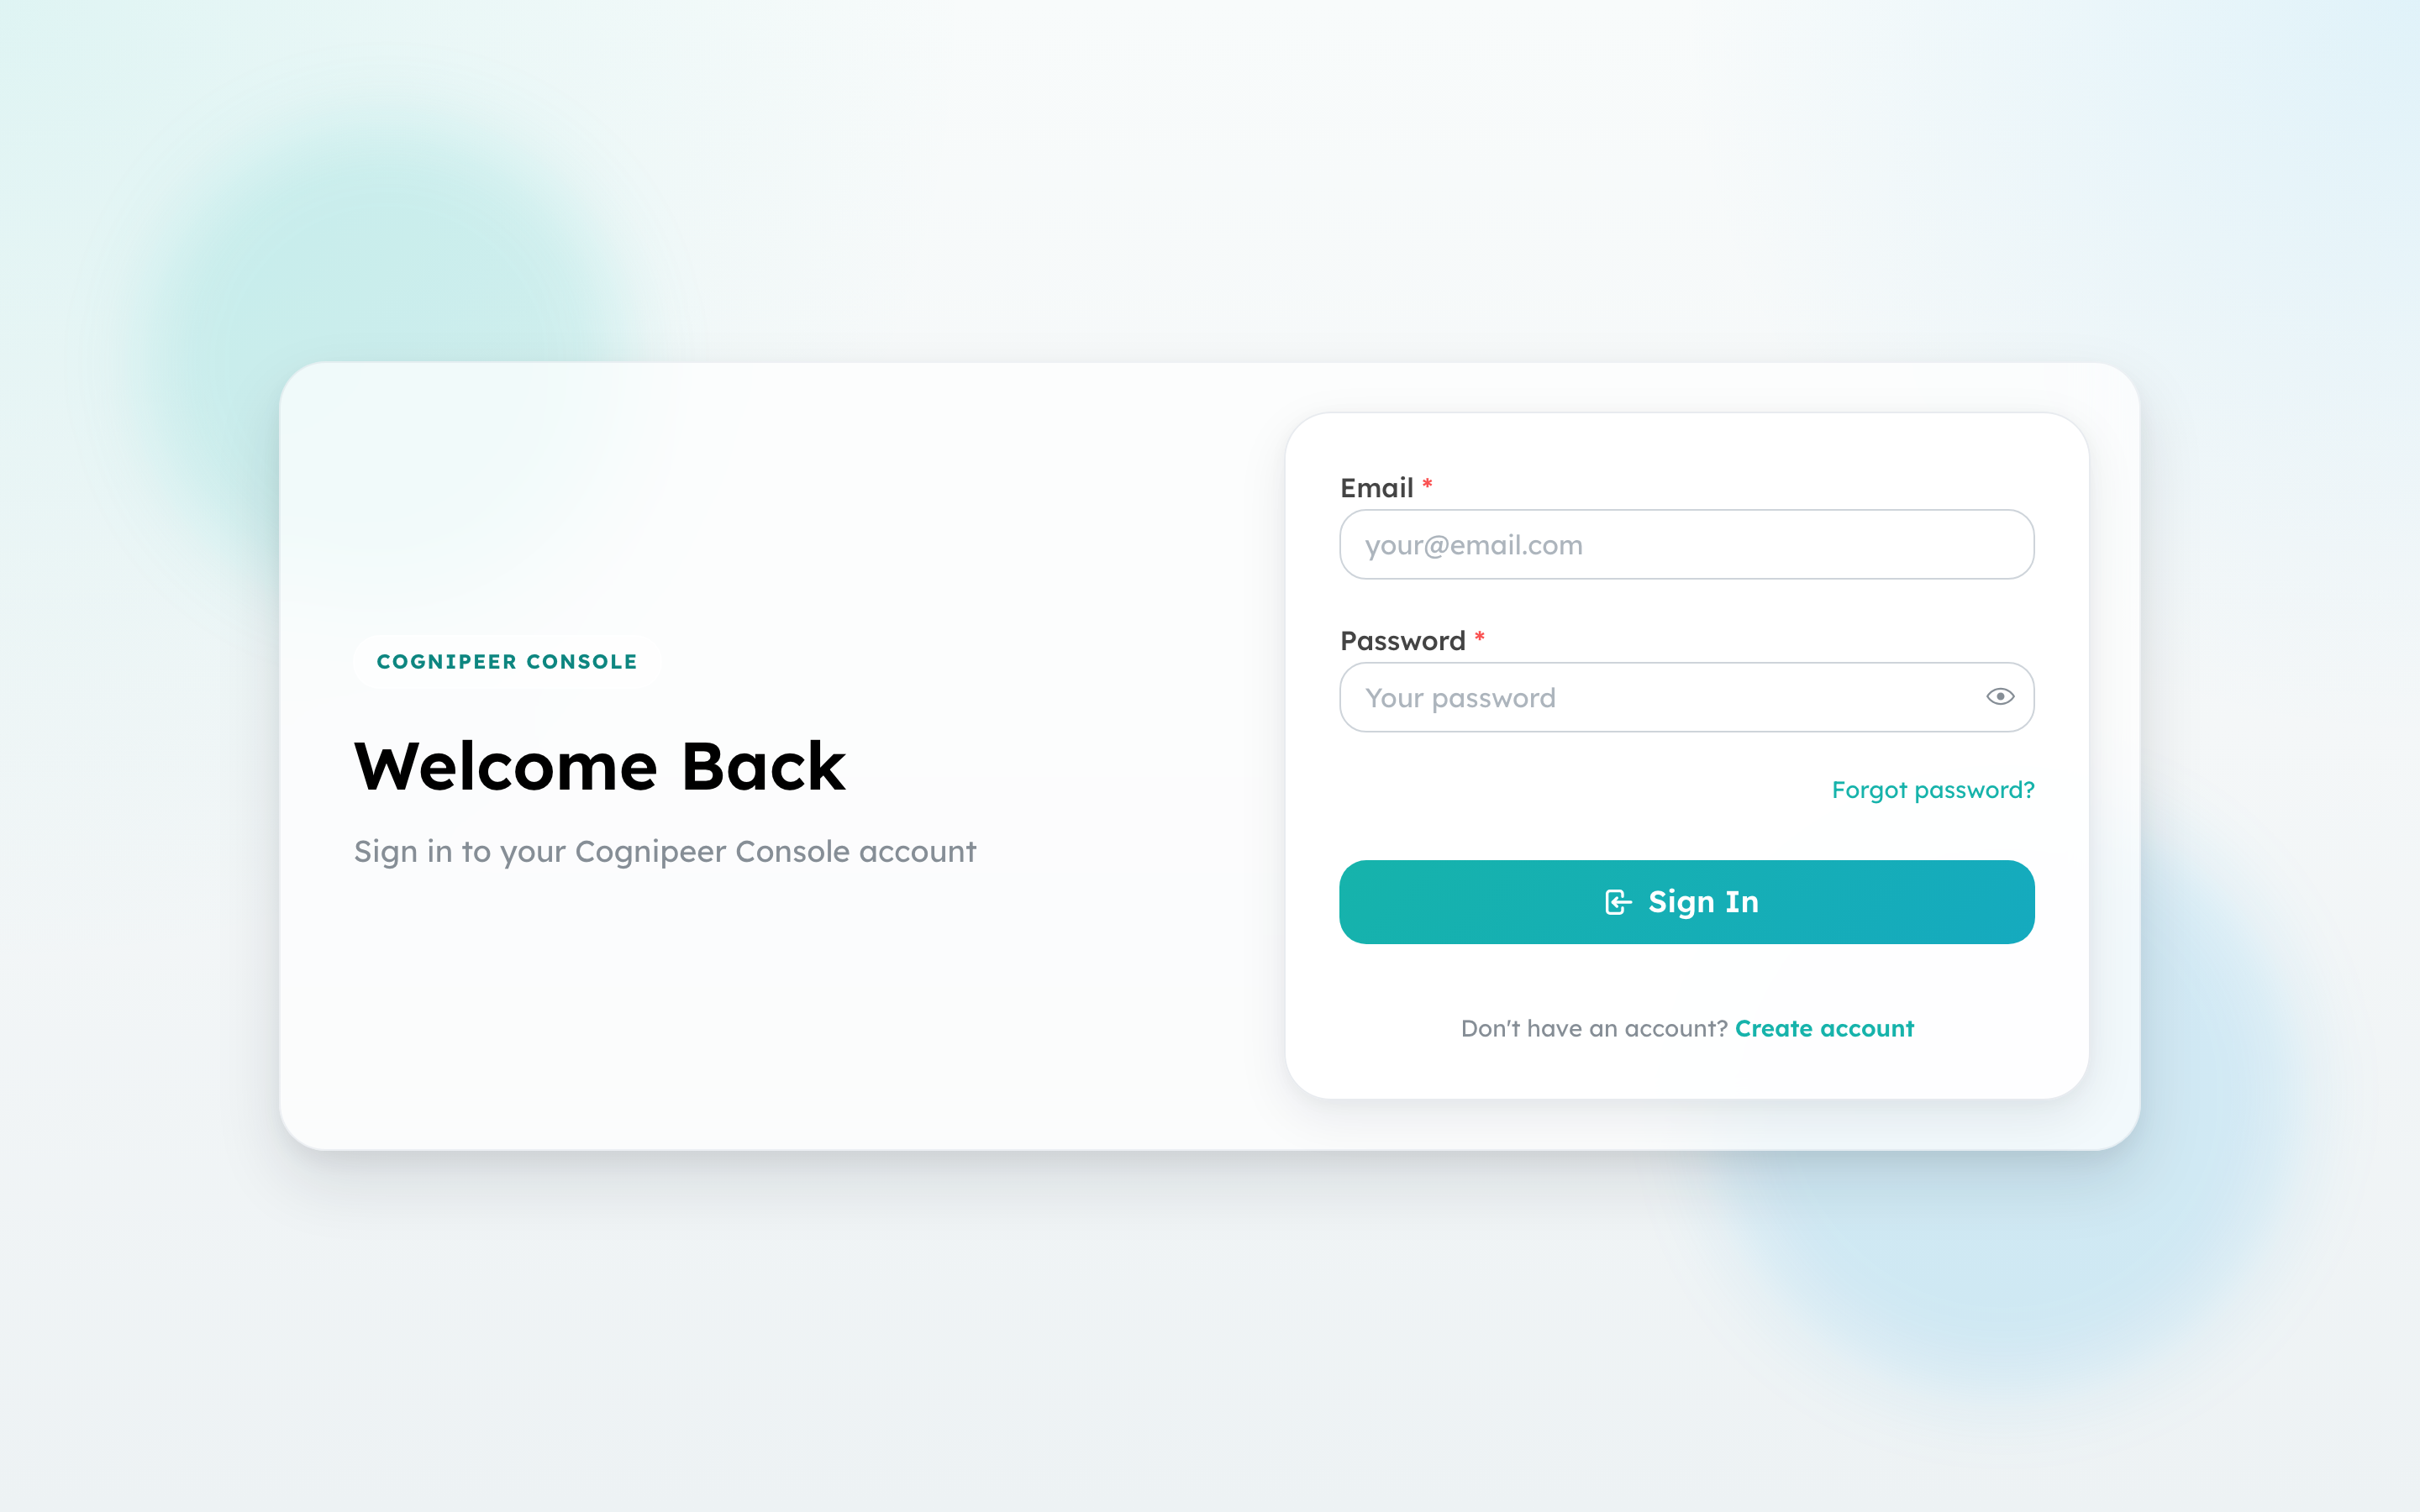
JWT tokens are issued as a 7-day HttpOnly cookie so the browser never has direct access to them. The token carries the tenant ID, project list, role, and the feature flags allowed by your license.
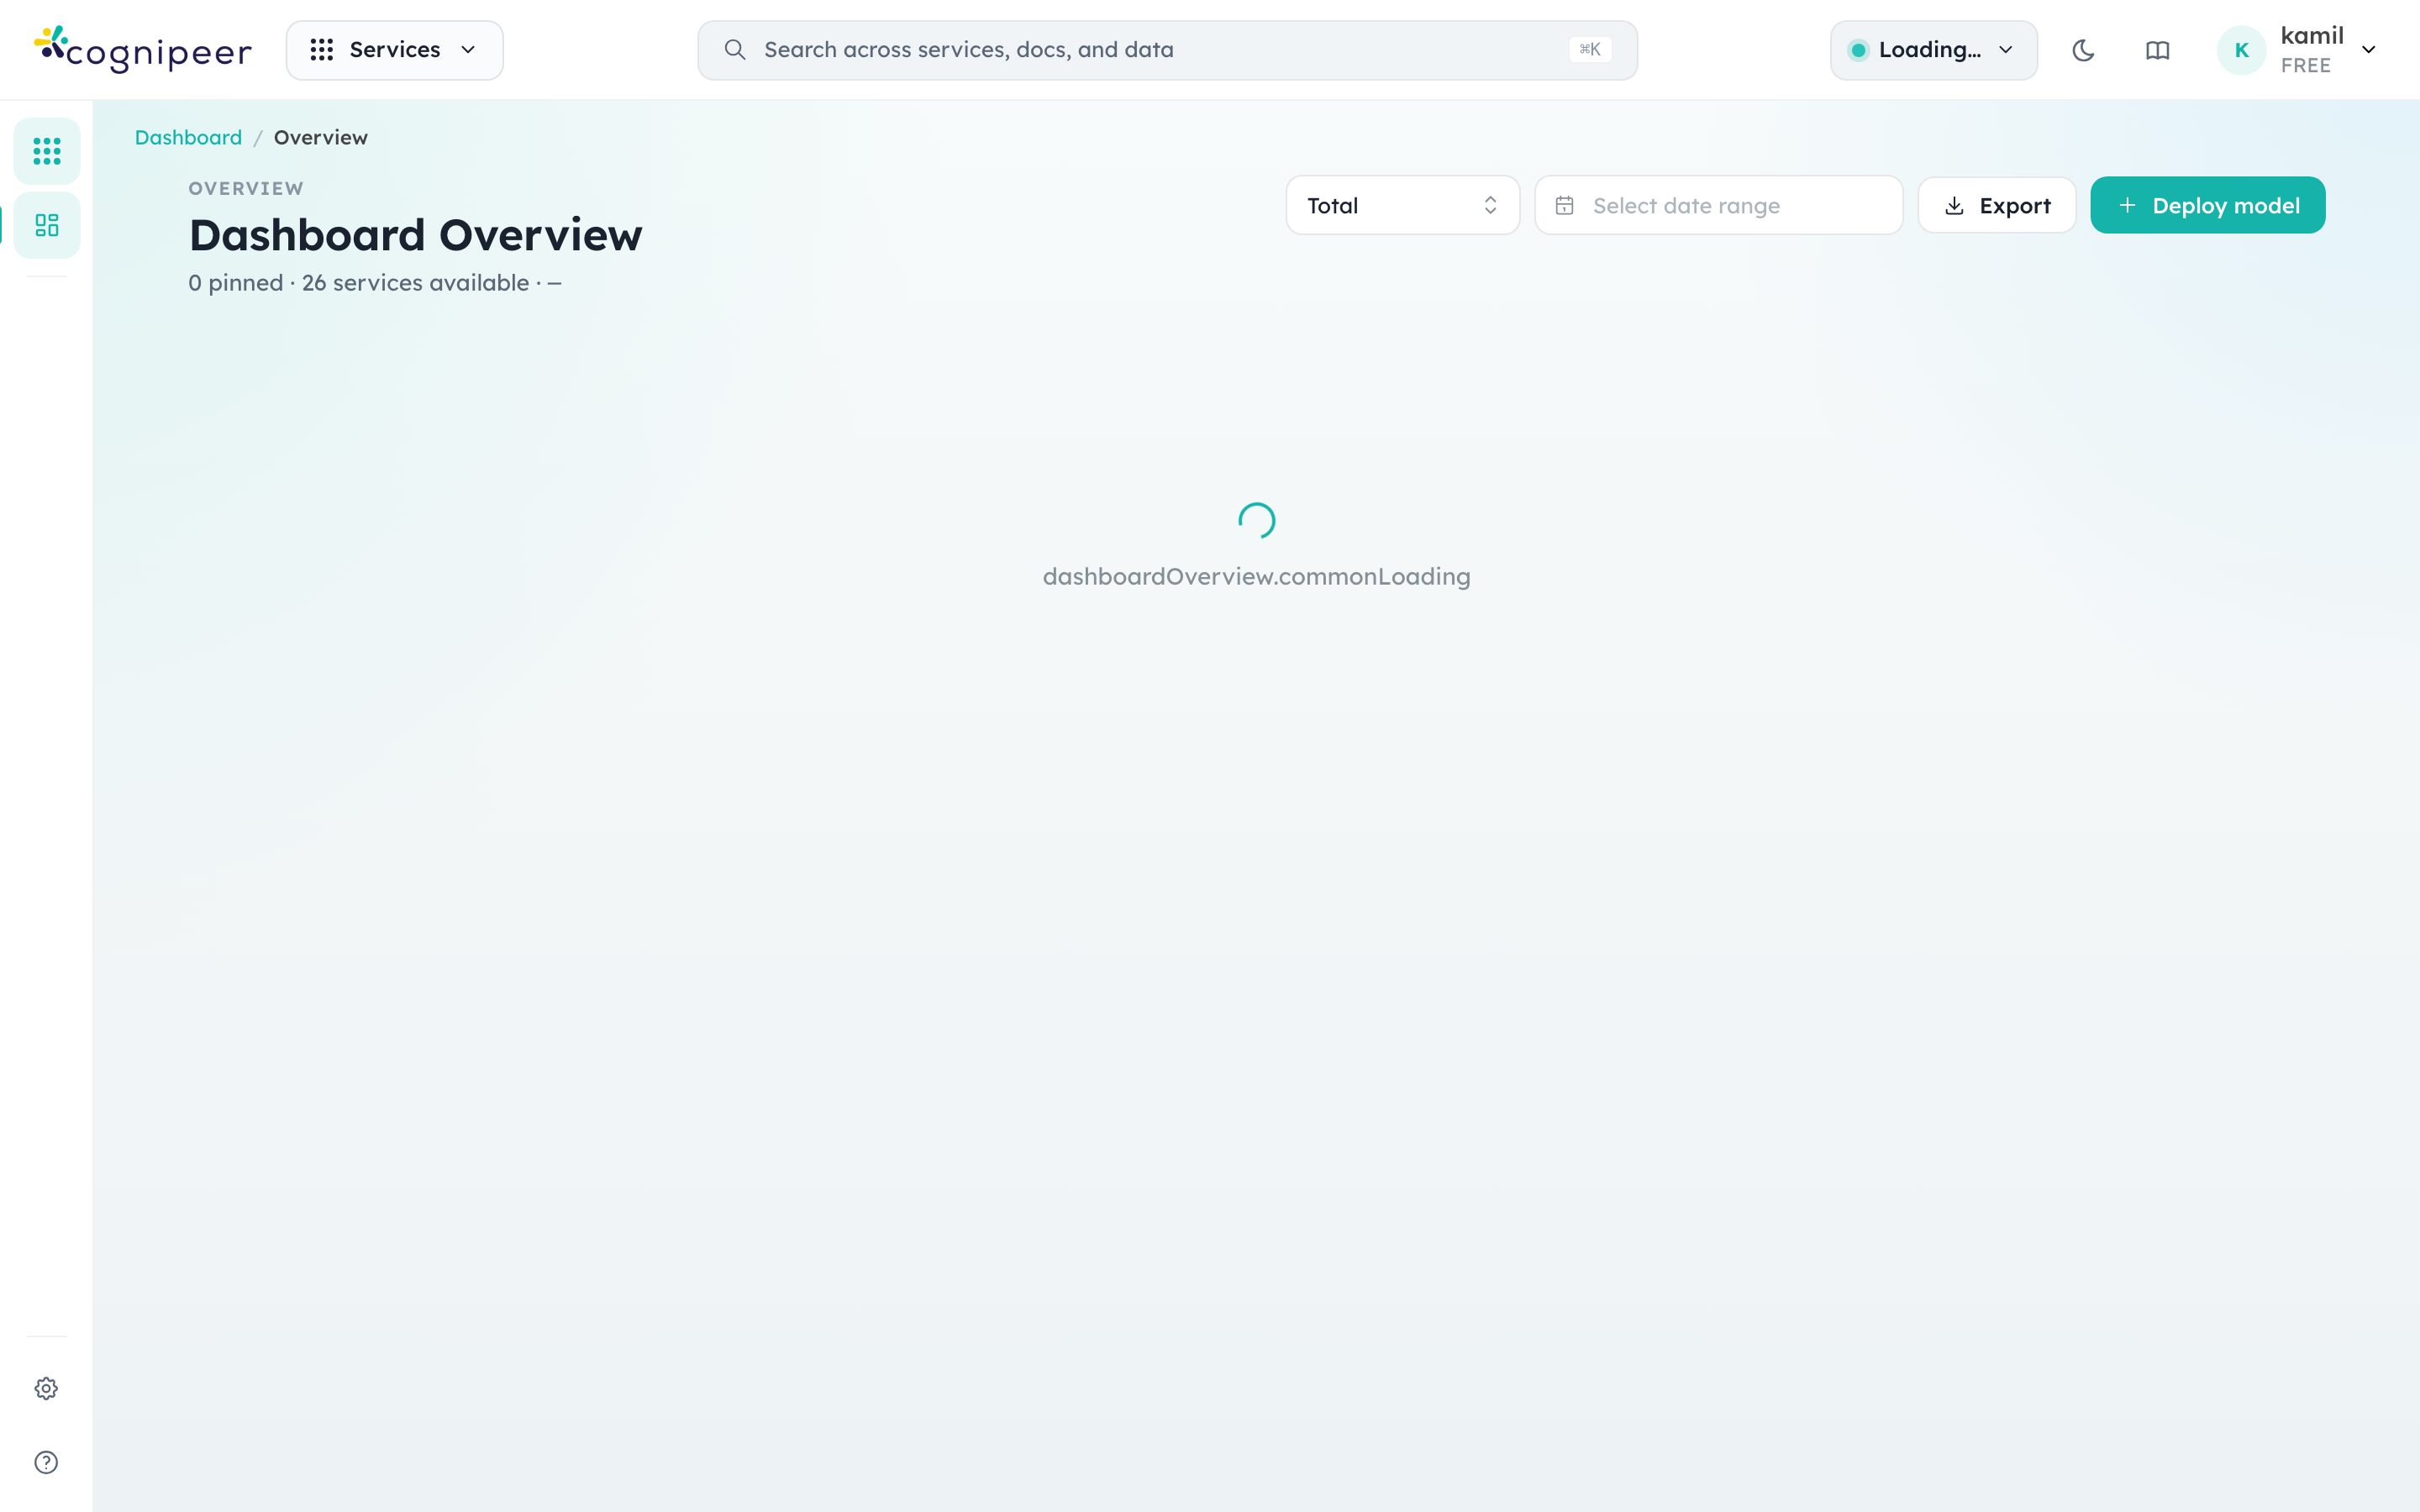
3. The first dashboard
After login you land on the overview. This is the page you'll come back to most often — it shows recent API traffic, active sessions, knowledge index count, and Model Hub status, plus a pinned-services grid for quick navigation.

The header has three controls worth knowing about up front:
- Services launcher (the grid icon next to the logo) opens the full app switcher with every module grouped by category. Open it once when you're new to the console and pin the services you use most.
- Project switcher (right of centre) toggles between projects inside the same tenant. Most resources — models, prompts, RAG indices, API tokens — are scoped to the active project.
- Account menu (top right) is where you flip the theme, sign out, and review license status.
Press Cmd+K (or Ctrl+K on Windows/Linux) from anywhere to open the Command Palette — searches across services, models, providers, agents, prompts, tools, MCP servers, vector indexes, memory stores, files, guardrails, PII policies, browsers, and more.
4. Make your first API request
To actually hit /api/client/v1/chat/completions you need two things: a model deployed in Model Hub and an API token from Settings → API Tokens. Once you have both:
curl http://localhost:3000/api/client/v1/chat/completions \
  -H "Authorization: Bearer YOUR_API_TOKEN" \
  -H "Content-Type: application/json" \
  -d '{
    "model": "your-model-key",
    "messages": [{"role": "user", "content": "Hello!"}]
  }'
The model field is the Key column from Model Hub — not the upstream provider's model ID. The runtime resolves the key against your project, applies guardrails and quota, then forwards to the provider.
Project Structure
src/
├── app/                    # Next.js App Router (UI pages only)
│   ├── dashboard/          # Dashboard UI pages
│   ├── login/              # Login page
│   └── register/           # Registration page
├── server/                 # Custom Fastify server
│   ├── index.ts            # Entry point (npm start / npm run dev)
│   ├── app.ts              # Fastify + Next.js wiring
│   ├── bootstrap.ts        # Startup bootstrap (core init, schedulers)
│   └── api/routes/         # Client + dashboard API routes
│       ├── client/v1/      # Client-facing API (API token auth)
│       └── health/         # Health check endpoints (live/ready)
├── components/             # React components (Mantine UI)
├── config/                 # Feature policies, plan limits
├── lib/
│   ├── api/                # Route helpers (withRequestContext)
│   ├── core/               # Infrastructure modules
│   ├── database/           # Database abstraction layer
│   ├── license/            # License & JWT management
│   ├── providers/          # Provider contracts & registry
│   ├── quota/              # Quota enforcement
│   ├── services/           # Domain services
│   └── utils/              # Shared utilities
├── middleware.ts            # Global auth & security-header middleware
└── instrumentation.ts       # Next.js hook → server/bootstrap
Useful Commands
| Command | Description |
|---|---|
npm run dev | Start dev server with Turbopack |
npm run build | Production build |
npm run lint | ESLint check |
npm test | Run all tests (Vitest) |
npm run test:watch | Run tests in watch mode |
npm run docs:dev | Start documentation dev server |